
เว็บพนันบอล แทงบอล แทงบอลเดี่ยว บอลสเต็ป สมัครเว็บตรง
การเดิมพันบอลออนไลน์ เป็นหนึ่งในกิจกรรมที่ได้รับความนิยมอย่างกว้างขวางในยุคปัจจุบัน นักพนันออนไลน์หลายคนพบความสนุก และความตื่นเต้นในการ แทงบอล เว็บพนันบอลออนไลน์นั้นเติบโตเร็วมาก ในช่วงหลายปีที่ผ่านมา และมีเว็บไซต์ให้เลือกเล่นมากมาย ทำให้การเลือกเว็บพนันที่น่าเชื่อถือและปลอดภัย ถือว่าเป็นเรื่องที่สำคัญอย่างยิ่ง เราขอแนะนำ เว็บแทงบอลที่ดีที่สุด เว็บตรง ไม่ผ่านเอเย่นต์ แทงบอลเว็บตรง จ่ายหนัก จ่ายเต็ม
จัดหนัก จัดเต็ม กับเว็บพนันบอลออนไลน์ เว็บตรงไม่ผ่านเอเย่นต์
การ แทงบอลออนไลน์ เป็นสิ่งที่ท้าทายและน่าสนุก แต่การเลือกเว็บพนันที่เหมาะสมและปลอดภัยเป็นสิ่งสำคัญที่ผู้เล่นทุกคนควรใส่ใจ ซึ่งการ สมัครแทงบอล กับเว็บที่ไม่น่าเชื่อถืออาจทำให้เสียเงิน เพื่อให้คุณได้เพลิดเพลินในการเดิมพัน ดังนั้นเราขอแนะนำเว็บพนันบอลออนไลน์ที่เหมาะสม และเชื่อถือได้ แทงบอลเว็บตรง เพลิดเพลินไปกับการเดิมพันออนไลน์ UFABET ที่มีบอลให้เลือกเดิมพันมากมาย หลากหลายลีคชั้นนำ

จุดเด่นในการ แทงบอล บนเว็บพนันบอลออนไลน์ UFABET
แทงบอลออนไลน์ บนเว็บพนันออนไลน์เป็นที่นิยม และเป็นที่ต้องการของนักพนันออนไลน์ เนื่องจากมีจุดเด่นที่น่าสนใจ โดยเฉพาะในเว็บไซต์ UFABET ซึ่งเป็นเว็บพนันบอลที่เปิดให้บริการอย่างมืออาชีพ และมีความน่าเชื่อถือ

- ความหลากหลายในการเดิมพัน
เว็บพนันบอล มีความหลากหลายในลีกบอลต่าง ๆ ท่านสามารถเลือกเดิมพันในลีกและทีมที่สนใจได้มากมาย ไม่ว่าจะเป็นลีกในประเทศไทย หรือทั่วโลก - ความน่าเชื่อถือและปลอดภัย
เป็นเว็บพนันที่มีความน่าเชื่อถือ และมั่นคง มีให้บริการในการแทงบอลออนไลน์ ด้วยความปลอดภัย ที่ทำให้ท่านสามารถทำการเดิมพันอย่างมั่นใจได้ - ราคาบอลที่ดี
มีราคาบอลที่ดีและมีเสถียรภาพ ทำให้ท่านสามารถเลือกเดิมพันในทีมที่คุ้มค่า และมีโอกาสชนะสูง โดยไม่ต้องเสียเวลาในการค้นหาราคาบอลจากเว็บอื่น เพราะคือเว็บพนันบอลออนไลน์ ราคาน้ำดีที่สุด - บริการลูกค้าที่เป็นมืออาชีพ
มีทีมงานให้บริการลูกค้าที่มีความเชี่ยวชาญ และให้คำแนะนำในการแทงบอลอย่างเหมาะสม
UFABET เป็นเว็บพนันบอลที่เปิดให้บริการที่มีความน่าเชื่อถือ และความเป็นมืออาชีพ ท่านสามารถเลือกเดิมพันในทีมที่สนใจได้อย่างมั่นใจ การศึกษาและเลือกเคล็ดลับในการแทงบอล จะช่วยเพิ่มโอกาสในการชนะและคว้ารางวัลใหญ่ในการ แทงบอลออนไลน์
เทคนิคการแทงบอลออนไลน์ แทงอย่างไร ได้กำไรแน่นอน
นำเทคนิคและวิธีการเล่นพนันบอลออนไลน์ เพื่อเพิ่มโอกาสในการชนะ นี่คือเคล็ดลับการ แทงบอล ที่อาจช่วยเสริมสร้างโอกาสในการชนะ
- การศึกษาและการวิเคราะห์
ให้ความสำคัญในการศึกษา วิเคราะห์เกี่ยวกับทีมและนักเตะที่จะแข่งขัน เช่น ข้อมูลตารางคะแนน ฟอร์มของทีม และข้อมูลทางสถิติอื่น ๆ - การจัดการเงิน
กำหนดขีดจำกัดการเดิมพัน และให้ความสำคัญในการจัดการเงินให้เหมาะสม เพื่อลดความเสี่ยงในการสูญเสียเงิน - การเลือกเดิมพัน
ศึกษาเลือกเดิมพันที่เหมาะสมและมีโอกาสในการชนะมากขึ้น เช่น การเลือกเดิมพันตามราคาที่น่าสนใจ และมีโอกาสสูง - เลือกเวลาเดิมพันที่เหมาะสม
ควรเลือกเวลาเดิมพันที่เหมาะสม และไม่ควรเดิมพันที่มากเกินไป - อย่าทำสิ่งน่าเสียดาย
หลีกเลี่ยงการเดิมพันในช่วงเวลา ที่มีสถานการณ์ที่ทำให้คุณอยู่ในสภาพที่ไม่ดี

แทงบอลเดี่ยว แทงบอลสเต็ป บนเว็บพนันบอลออนไลน์ UFABET
การแทงบอลออนไลน์ ที่เว็บ UFABET มีทั้งการแทงบอลเดี่ยว และการแทงบอลสเต็ป ซึ่งเป็นวิธีการแทงที่แตกต่างกันดังนี้:
- แทงบอลเดี่ยว: การแทงบอลเดี่ยวคือการเลือกทีมที่คาดว่าจะชนะหรือเสมอในการแข่งขันบอลเพียงแค่ทีมเดียว หากทีมที่ท่านเลือกชนะ จะถือว่าชนะเดิมพัน แต่หากทีมที่ท่านเลือกแพ้หรือเสมอเกมท่านจะแพ้เดิมพัน
- แทงบอลสเต็ป: การแทงบอลสเต็ปคือการเลือกทีมหลาย ๆ ทีมในบอลที่คาดว่าจะชนะ ทีมที่ท่านเลือกจะต้องชนะทุกทีมเพื่อให้ท่านชนะเดิมพัน หากมีทีมใดทีมหนึ่งแพ้หรือเสมอท่านจะแพ้เดิมพัน โดยเริ่มเดิมพันตั้งแต่ 2 ถึง 12 คู่
การแทงบอลสเต็ปเป็นทางเลือกที่น่าสนุก และมีโอกาสในการชนะในรูปแบบของการเดิมพันที่มากขึ้น อย่างไรก็ตาม การแทงบอลสเต็ปเหมาะสำหรับผู้เล่นที่มีความรู้และความเข้าใจในการวิเคราะห์บอล เพื่อเพิ่มโอกาสในการทำเงินจากการเดิมพันบอลออนไลน์
แทงบอล กับเว็บพนันบอลออนไลน์ เว็บตรง เดิมพันง่าย ได้เงินจริง
การเล่นพนันบอลออนไลน์เป็นกิจกรรมที่น่าสนุก และมีความตื่นเต้น อย่างไรก็ตาม การเลือกเว็บพนันที่เหมาะสม และน่าเชื่อถือเป็นสิ่งสำคัญที่สุดในการเล่นพนัน เมื่อคุณได้รับเคล็ดลับในการเลือกและเทคนิคการเล่นอย่างถูกต้อง คุณจะสามารถเพิ่มโอกาสในการชนะและเพลิดเพลินไปกับ แทงบอลออนไลน์ อย่าลืม เลือกแทงบอลกับ เว็บแทงบอลที่ดีที่สุด UFABET เว็บพนันออนไลน์ อันดับ 1
บทความแทงบอล
- เว็บพนันบอล ที่ดีที่สุด 2023 UFABET รวมฟุตบอลจากทุกลีกทั่วโลก
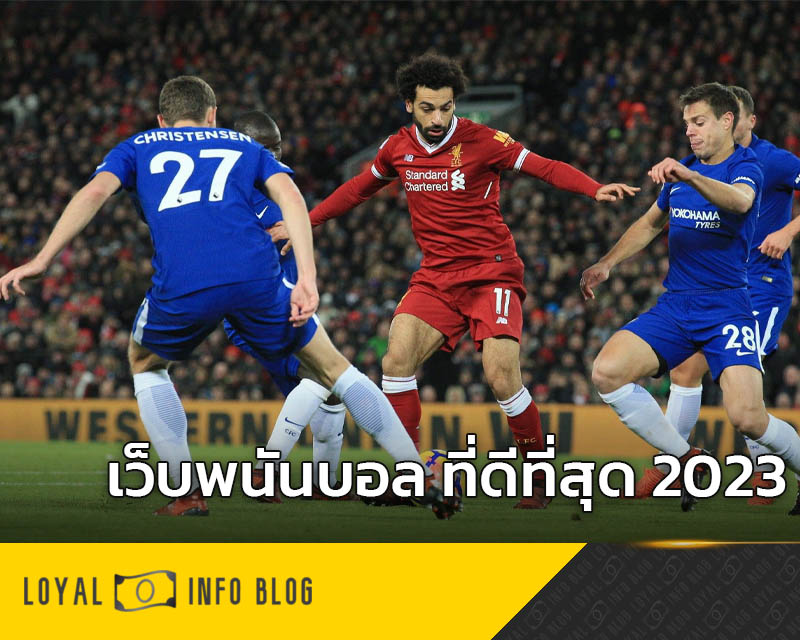 คิดจะแทงบอล ขอแนะนำ UFABET เว็บพนันบอล ที่ดีที่สุด 2023 ที่มาพร้อมกับอัตราการจ่ายที่สูงที่สุดในไทย แทงง่าย จ่ายไม่อั้น ยิ่งเล่นยิ่งได้
 - เล่นบอลออนไลน์ ขั้นต่ำ 10 บาท สมัครแทงบอล ยูฟ่าเบท รับโบนัสฟรี
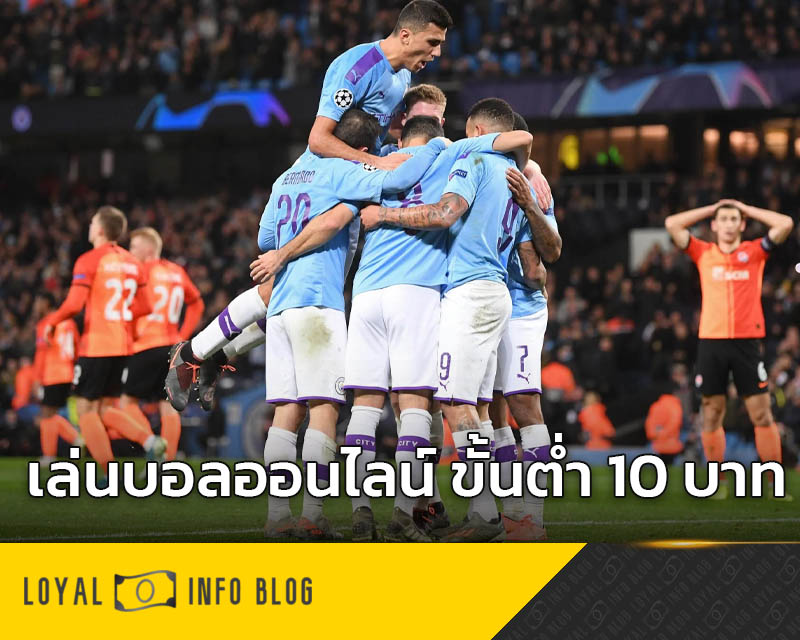 แทงบอลออนไลน์ขั้นต่ำ 10 บาท แทงบอลสด บอลสเต็ป เล่นบอลออนไลน์ กับ UFABET จ่ายเยอะ จ่ายจริง จ่ายสูงสุดหลักล้าน ทำเงินได้ทุกวัน สมัครเลย
 - แทงบอล เว็บตรง เดิมพันกับยูฟ่าเบท ยิ่งเล่นยิ่งได้ ครบทุกบริการ
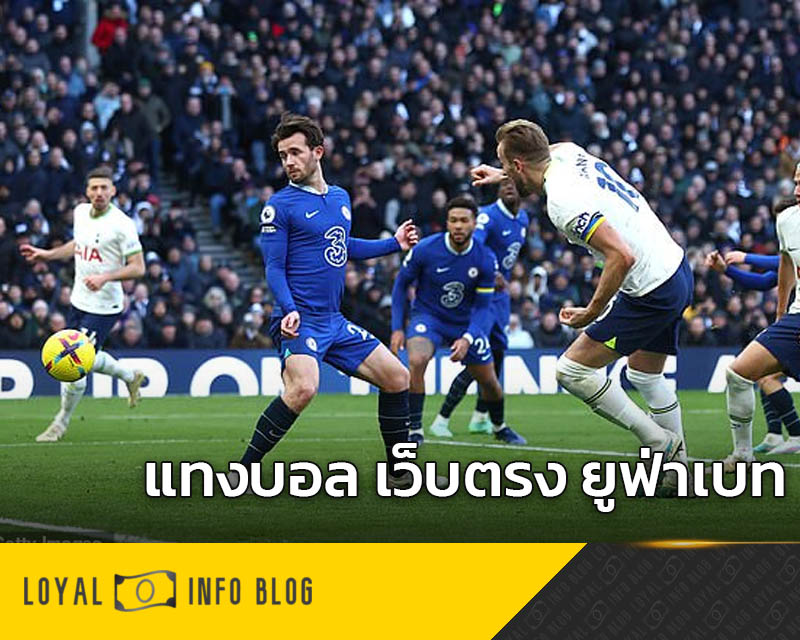 แทงบอลได้เงินจริง แทงบอล เว็บตรง UFABET เล่นบอลออนไลน์ ขั้นต่ำ 10 บาท รวมฟุตบอลทุกลีกชั้นนำ ฝากถอนง่าย จ่ายไว คลิกเลย
 - เว็บแทงบอลอันดับ1 UFABET เปิดรับแทงมากกว่า 2,000 คู่ต่อวัน
 มองหาเว็บแทงบอลอยู่ใช่ไหม? แทงบอลสด บอลสเต็ป ต้องที่ UFABET เท่านั้น เว็บแทงบอลอันดับ1 แทงบอลออนไลน์ ขั้นต่ำ 10 บ. จ่ายหลักล้าน
 - แทงบอลออนไลน์ เดิมพันกับ UFABET ถูกกฎหมาย จ่ายเยอะที่สุดในไทย
 เว็บแทงบอลถูกกฎหมาย UFABET แทงบอลออนไลน์ ได้ครบทุกลีก ทั้งในไทย และต่างประเทศ เริ่มต้น 10 บาท เล่นเสีย คืนยอดทุกเดือน
 - ยูฟ่าเว็บบอล กับเว็บบอลเอเย่นต์ แทงเว็บไหนทำเงินได้ชัวร์
 แทงบอลออนไลน์ได้เงินจริง สมัครเล่นกับ ยูฟ่าเว็บบอล มีบอลจากทุกลีกชั้นนำมากกว่า 2,000 คู่ต่อวัน เริ่มต้น 10 บาท เปิดให้ตลอด 24 ชม.